 410.848.1014
Chlorination Instructions
Chlorinating is an important step in making your private well water safe for human consumption. This chlorination procedure is provided for your convenience from information available from the Carroll County and Frederick County Health Departments. For further information, please contact your local health department.
Your Well Should Be Chlorinated If:
- It’s a new well.
- You’ve just completed plumbing repairs.
- Your well has been out of service for a long time.
- Your water tested positive for bacteria.
Before Chlorination
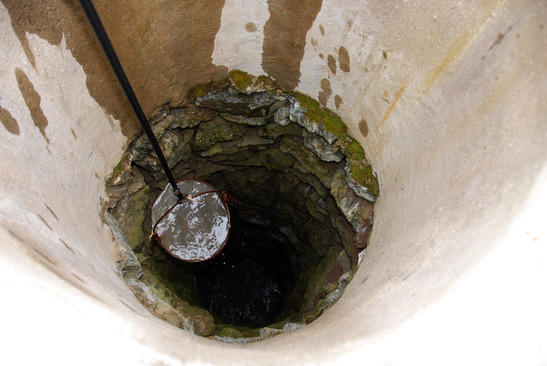
- Run the hose into the well at your own risk. On some older wells, wells with inadequate casing or wells drilled into certain types of rock, there have been reports of well collapse.
- Make sure the well casing is at least 8″ above grade. Some wells are buried underground or in a well pit. Unless they are absolutely watertight, they eventually will become contaminated with surface water. Upgrade these types of wells to code.
Liquid Chlorine Bleach Procedure
This procedure for chlorinating utilizes liquid chlorine bleach. The active ingredient is Sodium Hypochlorite.
1. Turn off the circuit breaker for the hot water heater, or in the case of a gas water heater, turn the water heater to pilot.
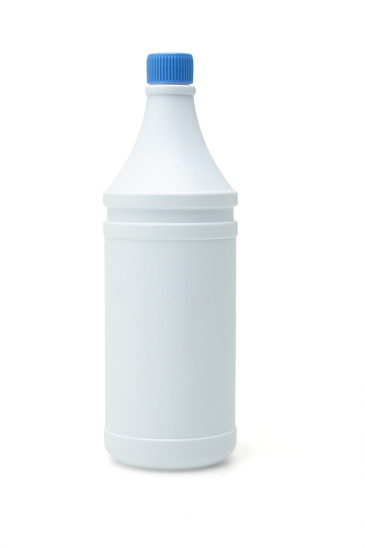
2. Use 3 ounces of fresh 6.0% household liquid bleach (no fragrances or additives) for every 10 feet of water in your well. Use a minimum of ½ gallon. Dilute the bleach with a gallon of water. Pour the mixture directly into the well by removing the well cap or, in the case of an older well, removing the vent plug in the sanitary seal and pouring the bleach mixture into the well casing.
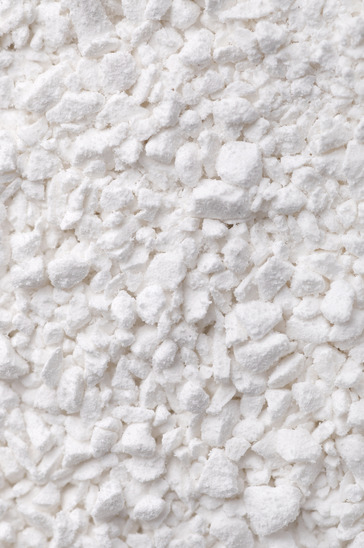
3. In addition to the bleach mixture, add 2 tablespoons of chlorine crystals to the well. These can be obtained where pool supplies are sold and should be added directly to the well. If chlorine crystals are not available, the amount of liquid chlorine bleach should be doubled.
4. After the chlorine has been added, cap the well tightly. Run the water, using an outside faucet until there is a chlorine smell present (if this takes longer than 1 hour, turn water off for ½ hour, then run the water again for up to 1 hour and repeat this process until the chlorine smell is present). Then run every faucet until a chlorine smell is detected, including outside taps, barn taps, shower heads, and the taps at the bottom of the hot water heater and pressure tank. After chlorine is detected, close each tap and allow the water to remain in the plumbing system for at least twelve hours. Except for flushing toilets, no water should be used during the twelve hour period.
5. At the end of the 12-hour period, the chlorinated water should be run off. This should be done intermittently (run water no longer than 1 hour each time). An outside tap should be used, if possible, to prevent overloading the septic system. You should continue this process periodically until no chlorine smell is present. This process may take several days.
Powdered or Granular Chlorine Procedure
This procedure for chlorinating utilizes granular pool chlorine. The active ingredient is Calcium Hypochlorite.
1. Turn off the circuit breaker for the hot water heater, or in the case of a gas heater, turn the water heater to pilot.
2. Before treatment, turn off the pump breaker at the electric panel box before removing the well cap to eliminate shock hazard.
3. Remove well cap and electric wires from top of well. Make sure wire connectors are tight. Protect wire connectors with a plastic bag.
4. Attach a garden hose to an outside spigot and place it into the top of the well casing. For each 150 feet of well depth add 10 ounces of Powder Shock which contains approximately 65 % chlorine. Powder Shock can be purchased at most area pool retail stores or large department stores. This powder should be added to 1 gallon of water, mixed and poured directly into the well. Turn pump breaker on and circulate water from outside spigot into the well. After chlorine smell is detected coming from the hose, allow the water to circulate into the well for at least one hour. (Caution: this procedure may cause the water to become cloudy, however, it will clear up after the chlorine is run off.) Turn breaker off and replace wires into the top of the well casing. Replace and tighten well cap.
5. Turn pump breaker back on, go into the house and circulate the chlorinated water through every faucet and fixture until a chlorine smell is detected (at least 3 minutes at each site). This should include hot water taps, outside taps, barn taps, shower heads, washing machines, dishwashers, toilets and the taps at the bottom of the hot water heater and pressure tank. After chlorine is detected, close each tap and allow the water to remain in the plumbing system for at least 12 hours. Except for flushing toilets, no water should be used during the 12-hour period.
6. At the end of the 12-hour period, the chlorinated water should be run off. This should be done intermittently (run water no longer than 1 hour each time). The outside tap should be used, if possible, to prevent overloading the septic system. You should continue this process periodically until NO chlorine smell is present. This process may take several days.
7. For your convenience you may pick up a complimentary Chlorine Test Kit at the lab. This kit will allow you to test for residual chlorine.
After Chlorination
When you have completed this process, contact Fountain Valley Lab at (410) 848-1014 to schedule a water test. The health department recommends a 14-day waiting period after chlorination and before a follow-up water sample should be taken. This is to ensure that the sample taken is representative of the normal condition of the water supply. When re-testing is necessary, it is recommended that two good, successive bacteriological samples be secured, and that they be sampled at least 7-10 days apart. This is necessary to ensure the integrity of the well.
NOTE: The water supply should be considered unsafe for human consumption until it has been sampled and determined to be free of coliform bacteria.
Upgrading Your Well Cap
Some well caps have a considerable gap between the cap and well casing, allowing insects and other vermin to enter and contaminate the well. Vented well caps are available, which prevent anything from entering the well but allow air in for the proper functioning of the well. Check with your well driller or plumber. A less expensive alternative to a new well cap is to a) remove the old well cap b) take a piece of nylon stocking and place over the opening of the well casing c) secure with duct tape d) replace well cap and e) check for holes or tears periodically.
